Looking to find out how to edit a video using iMovie on your iPhone? This tutorial will teach you some of the best tips and tricks. Let’s dive right into it!
You can easily integrate many video clips into a single project with iMovie. It’s compatible with both Macs and iPhones/iPads/iPod touches. The DV variant of the iMac was the first to have this program; it was launched in 1999.
For example, you can make videos with sound effects, menus, transitions, titles, themes, and music using iMovie. Alternatively, the video may be stored as a file on the computer’s hard disc. iMovie can edit YouTube videos if you are a Mac user. There are just a few steps you need to learn before you need to do to get started. Adding YouTube titles and transitions will be covered in this post. Importing videos will also be covered.
Getting Started With A Project:
When you’re ready to begin a new project, launch iMovie, all of your iMovie projects will be included in the Projects section of iMovie. If you have not used this application before, you will not see any project listed here.
An additional project may be started by clicking on the option of “Create New Box,” which is represented by a giant “plus” symbol. A menu will drop down will show once you click on it. Select the option of “movie” to continue.
Naming Your Project:
You can find the Project Button in the upper left corner of iMovie. In a popup box, you’ll have the option of naming your project. Remember to keep track of your projects since you can always go back and rename your movie. Reopen your project by double-clicking on it in the list of projects.
Please take note:
If the File menu does not include a Save option, you don’t have to worry about saving your work manually since iMovie automatically saves every few minutes.
The Interface of The Project:
The Event Library is in the iMovie’s upper left-hand corner. They are put into folders called “Events” in the workspace in the Event Library, which is like a media browser. The next part of the UI is called the “Project workspace” or “Timeline.” You can use the files you chose in the Event Library workspace to build your movie.
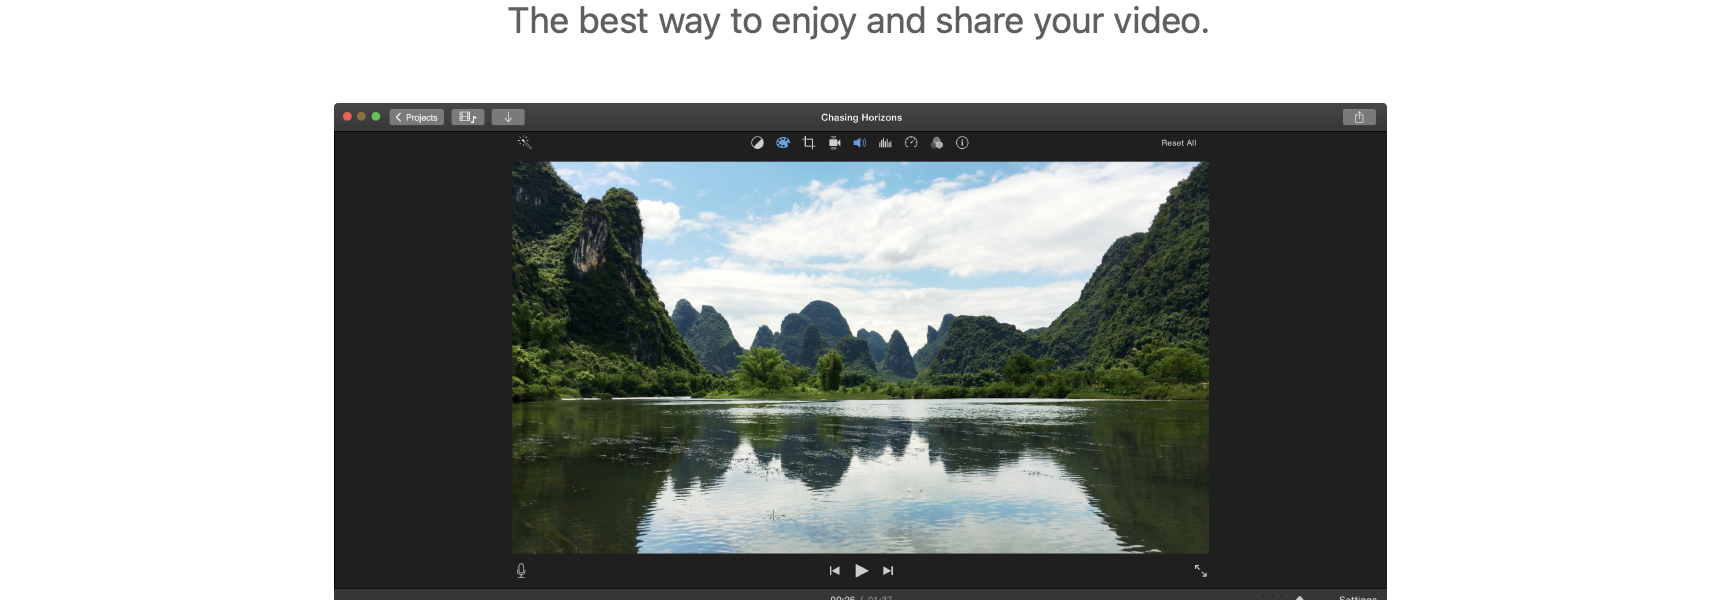
The Viewer is in the upper right corner of the screen, and it’s easy to find. To see the clips you’re editing and how they look, you’ll need to open the Viewer window. There will be an adjustment icon at the top of the viewer that will let you make any changes to clips.
Importing Files From Computer System:
You can find the Import button at the top of the iMovie window. It has an arrow that points down.
Use the workspace to use a media browser-like tool in the Event Library. You can move through all of your imported media there.
The next part of the interface is called the “Project workspace” or “Timeline.” It is at the bottom of the screen. After this, you’ll be shown a window where you can choose the clips you want to import. Use the left-hand menu to find the material you want to import from your computer, an external disc, or your camera, and then click on it. Another option in Import Windows is to choose which event the clips should be imported to. This option is at the top of the window, next to “Import to.”
Some Tips And Tricks:
To add your video clips to an event that already exists or start a new one, click on the menu that will appear. IMovie will ask you to name your new event.
Adding Quick-Frame:
The iMovie program on your Mac may be used to freeze a frame in a video clip by moving the play head over a frame in the timeline. Add a freeze frame by selecting Modify and then Add Freeze Frame from the menu. The frame at the playhead location is frozen for three seconds.
Creating a Split Clip:
Moving your Playhead (that line of white color that follows the cursor) to the place where you wish to divide the clip, and then click on it. You’ll now have two separate clips. Select the Modify option on the screen’s top. Select Split Clip in the center of the drop-down selection. Splitting your clip into two halves when you do so will occur where your Playhead was.
Adding Filters:
You may choose a video clip in the timeline by tapping the timeline icon next to it. To get a preview of a filter, choose the Filters button and then touch on the desired filter. Apply the filter by tapping outside the filter, or choose none to use a filter.
How To Use 3-D Touch on iPhone for iMovie :
To use iMovie on 3D touch-capable iPhones, the device must be set up for 3D touch. A hard click on the app icon will launch a project, or you may use the Projects Browser to preview a project and then edit, share, or delete it using the swipe-up gesture.
Trimming Clips:
There are three ways to cut down on the length of a clip you’ve put on your Timeline. To start, you can move the endpoints of the clips to where they are on the project’s timeline.
Choose the clip you want to cut out. Then, when there is a yellow border around it, you will know that it has been chosen. Once you’ve reached the left side of the clip, click and drag your pointer left and right until you see two arrows pointing in the right direction. Then, follow them. To make the clip longer or shorter, click and hold the left or right arrow keys as you drag. To let go of the left-click, you can. Click and drag your mouse until the arrows show up again on the right side of your clip. When you want to change the length of your clip, press and hold the left mouse button while moving the mouse to the left or right, you can let go of the left-click when done.